Timber Framing and Timber Frame Education in Duluth Minnesota

Building is a process that revolves and evolves around conversations. The more care is taken in considering all aspects and persons involved, the better the result will be. Whether you are looking to start a conversation or would like me to join into one, please feel free to get in touch.
A Cherry Cruck Frame part 6: Laying out the plates
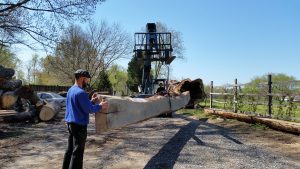
These aren’t your ordinary plates! A roughly 24″ diameter cherry log, 29′ long and all but straight was milled in half and set to dry for about three years in the driveway.

It takes major machinery to move these timbers.

This is the refined concept. The plates sit on four posts and and carry the 7 round rafters. The plates run the length of building on either side and set the length of the structure, with the butt ends showing 10″ in the front, and terminating in the two unusual gunstock posts in the rear.
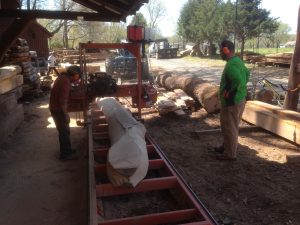
The first step in preparing the timbers is to mill them. Followed by planing, planing the wane, finally sanding.

Putting a centerline on both sides is just the first step in layout.

Then the locations for post mortises and rafter housings can be sketched out.

Once the post timbers are chosen and cut, the precise layout can begin.

When the layout has been verified, cutting of the mortises is first.


Jigs are critical!

These mortises need to be deeper than the mortiser can reach.
Cutting the housings.


Just beyond the wane.


Working on ‘Santa’s sleigh’!

Next few steps take place in the shop.

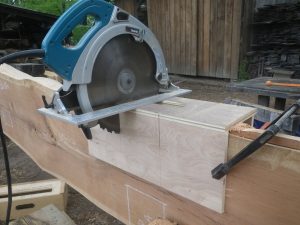
Cutting the rafter pockets went faster with the chainsaw.

With some planing and sanding the rafters fit smoothly.


The brace pockets are left…


…and some finishng touches


Leave a Reply